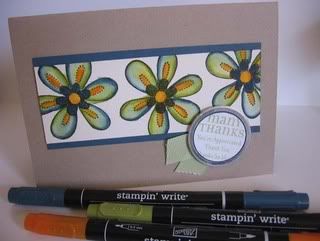
Welcome to my second online technique tutorial.
This particular technique I was fortunate enough to learn at the latest SU! Regionals. It was demonstrated using different stamps by a fellow demonstrator Yvonne
Crayon Resist TechniqueMaterials Stamps:
 French Flair (available in current summer mini catalogue)
Inks: Basic black, Cotton Candy Spectrum Pad
Cardstock: Glossy White, Pretty in Pink
Other: White Wax Crayon, Turquoise ribbon, brayer, tissue
All materials are by Stampin' Up! and can be purchased from me at anytime.
Please contact me if you have any questions and/or if you would like to place an order. Delivery can be made to anywhere within Australia.
fleurie78@optusnet.com.auStep 1Fold your piece of Pretty in Pink in half and use your bone folder along the edge to give a nice crisp fold line. Set aside for later.
 Step 2.
Ink up your French Flair Background stamp, using the Basic Black in pad.
I find it easier to place the b'ground stamp facing up, and then applying the ink to the stamp (as shown in picture)

Stamp your 'inked-up' image onto the Glossy White Cardstock. Don't worry if the stamp is larger than your piece of cardstock. Just make sure you line it up nice and straight. Stamp down nice and firm and lift up nice and cleanly to avoid smudging.

Step 3
Outline the pattern from your stamped image using a White Wax Crayon (the one I have used here is from the SU! Watercolour Wonder Range - Neutral pack) You will not be able to see where I have outlined the white crayon from my pictures until later, but if you randomly follow the stamped image you will be fine.
 Step 4
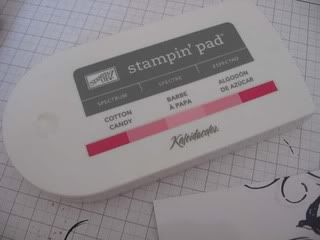


When you take off the lid of your spectrum pad you will notice 5 individual pads - when stored the pads are seperated, so that the colours do not bleed together.
When you are ready to use your spectrum pad, simply push the little lever towards the individual pads to push them together (don't forget to seperate them again when you are finished)
Ink up your brayer with the Spectrum Pad - by rolling the wheel over each colour. Continue 'wheeling' until the brayer has a full amount of colour all the way around.

Wheel your inked brayer over the Glossy White Cardstock (that you have already stamped). Making sure that you have a scrap piece of paper underneath.
I also
start and
end off the Glossy Cardstock to result in a nice even application. Continue rolling in a straght line up and down until you have a nice coverage.
Once finished you must quickly WIPE off the White Crayon resist lines with a tissue, before the ink dries completely.
Do not worry the INK will not smudge.

You will be left with your Crayon Resist outlines in white.
 Step 5

Apply some double sided tape to the reverse side of your stamped Glossy Cardstock

Attatch a piece of Turquoise Grosgrain ribbon to the front - making sure it is long enough to tuck and stick behind. Then attatch to your Pretty in Pink Card base.

Cut another piece of grosgrain ribbon to slot in behind

and tie off into a knot

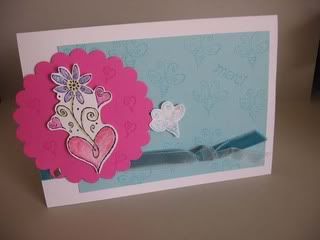
Ta Da! You have your completed Crayon Resist Card
I would love to hear your comments on this Step by Step Tutorial, so please feel free to leave a comment. I would also love to see any 'inspired projects'.
Happy Stampin'
fleur


